The great thing about VPNs from the top providers is they support apps for a wide range of devices. Along with this, apps are easy to install, which means you can be up and running within minutes on most devices. Monkey likes to stream music as he swings from tree to tree and relax in his treetop home streaming Netflix on his computer. So, if you want to setup your VPN on Mac or any other device and need help (not that we are suggesting you are not too bright) we have come up with a comprehensive guide showing you how you can do it.
In this configuration guide, we will take you through the installation showing you how to setup your VPN for the following devices:
- Mac OS;
- Windows PC;
- Android;
- iOS (iPhone and iPad);
- Router;
- SmartTV;
- Fire TV Stick.
Now, let us move on with this comprehensive guide to setup your Virtual Private Network on various devices. Note that all our guides were realeased with ExpressVPN. But you can apply most of the steps listed with any other providers.
How to set-up your VPN?
In the majority of cases, the installation of your Virtual Private Network will be quick and easy with just a few steps needed. However, some devices may be a little more complex but with our easy to follow steps you should get up and running in next to no time.
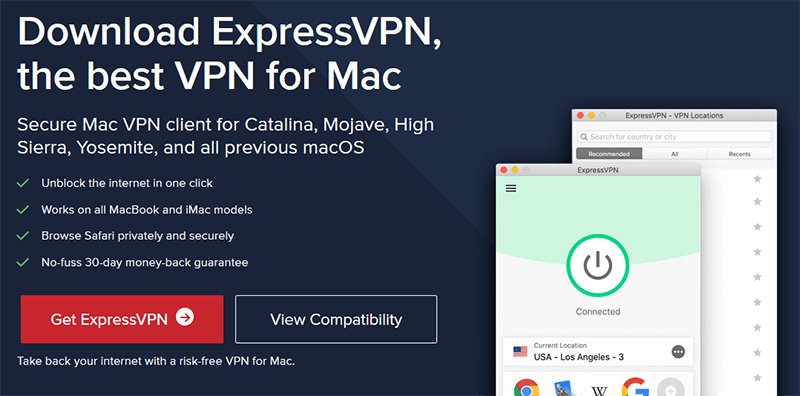
Mac configuration guide
Mac computers are one of the devices where setup is relatively easy and it takes just minutes. Just follow the steps below.
1. The first thing you need to do is choose which provider to use. We highly recommend ExpressVPN for 49% savings on yearly plans. NordVPN and CyberGhost are great choices too as they offer superb features and benefits. Sign up with your chosen provider and move on to the next step.
2. To use the Virtual Private Network on your Mac you will need to download the app for your device from the provider’s website or link given. Once downloaded go ahead and install it. During the set-up, boxes may pop up. Just read the information and continue clicking “Next”. When finished a box tells you it is installed.
3. Find the icon left by the installation and click on it to launch the app. Of course, the first time you run it, you need to type in your credentials and serial number. However, on subsequent launches, you can just click on the icon to launch the dashboard.
4. When the dashboard opens, choose a server from the list. Depending on the provider chosen, the app might offer you the best possible one. When you have found a server click “Connect”. Finally, minimise the app and leave it running on the computer.
You can now benefit from all the features offered, congratulations.
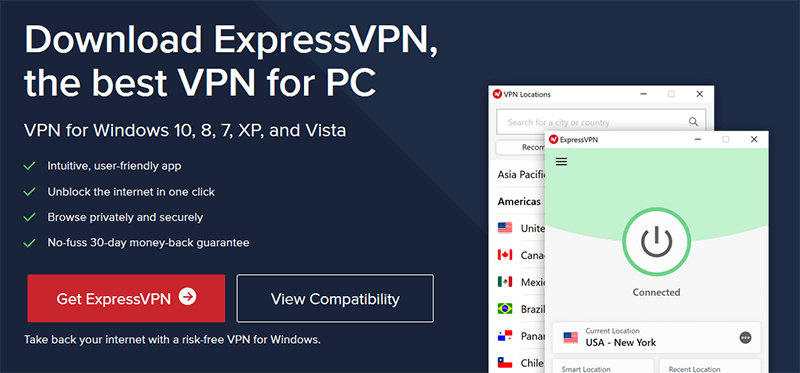
How to setup your VPN on Windows?
Setup is just as easy on Windows as it is on Mac. So, let us look at the steps required.
1. First, you have to make the decision about which provider to use and we highly recommend ExpressVPN. As we said before, you can save 49% by signing up for a yearly plan and take advantage of three months free.
2. Now, head to the download section and choose “Windows” and once downloaded find the icon on your computer to begin the installation.
3. During the set-up, you need to type in the activation code. Then continue through the set-up clicking “Next” or “Continue” on any windows that pop-up.
4. Next, head to the desktop or the Start menu on Windows and find the icon left behind by the installation. Double click on it to launch the dashboard.
5. Finally, the last step to setup your VPN is to choose your server and make a connection to that server. Choosing a server closest to you generally offers the fastest speed.
You can now use the Virtual Private Network to remain secure online, browse anonymously, stream geo-restricted content and more.
In future when you want to use it, just click on the icon and the dashboard opens up. It is so simple, if the monkey can do it, you certainly can.
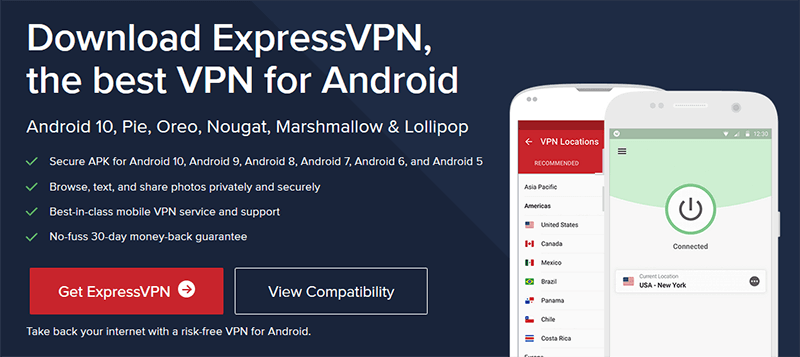
Setup your VPN on Android phone or tablet
Installing on Android is one of the easiest so far as the top VPN providers all offer apps.
Install ExpressVPN on Android>
1. To start choose a provider, sign up for a suitable plan, bearing in mind you can make big savings by paying upfront for a plan.
2. Next, go to the Google Play Store on your phone or tablet and type in the name of the provider. Alternatively, you might find a link on the provider’s website.
3. Once you have found the app for your provider just click on download and in seconds, the app is installed and ready to use.
4. All you have to do now is enter the credentials you made at the time of signing up and you are good to go.
5. Finally, all you have to do now is launch the app, choose the server and leave it running in the background.
iOS installation (iPhone and iPad)
It is easy to set-up your VPN on iOS (you can apply this guide wether you’re on iPad or iPhone) this if you are as once again providers offer apps directly through the App Store. So, to install on any iOS device follow the configuration below.
1. First, choose your provider, ExpressVPN for instance, and sign up for a plan.
2. Then, open up the Apple Store on your device and type in the name of the provider you chose.
3. Install the app of the provider.
4. Click on “open” when it has installed and enter your credentials.
5. Next, agree to the terms and continue.
6. You also have to click on “allow” to install on iOS.
7. The dashboard opens and you can choose a server.
Congratulations, you have now setup your VPN on iPhone and/or iPad! It was very easy don’t you think?
Router installation guide
The installation for routers is going to depend on the type you have to some extent and it is not as easy as setting it up on other devices. However, we will give you a comprehensive guide below that can be adapted to your specific model.
There is a big benefit to installing the Virtual Private Network on your router. Once installed, any device that connects to the internet through it can use it. This means you do not have to go through the process of installing one on every device you use.
Download ExpressVPN for your router >
Follow the steps below to set-up your VPN. We have chosen Netgear as our example with installation from ExpressVPN, however, others should be very similar (wether it is a Linksys, Asus, D-Link, Netduma, Sabai…).
1. Choose a plan and sign up.
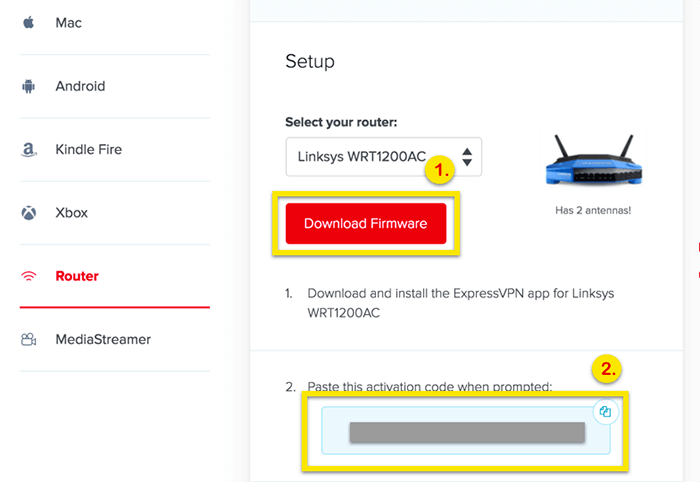
2. From the account dashboard, make a note of the account activation code, you will need it later.
3. Choose “Set up on more devices” and choose your router.
4. Finally, click on the “Download firmware” button to download the app.
Router dashboard setup
Now move on to setting up the dashboard for the router.
1. First, open a browser and go to the router dashboard or your routers gateway address.
2. Log in with your router’s username and password.
3. Go the “advanced” tab on the dashboard then choose “Administration” and “Update”.
4. Click on update then “Browse” to find the firmware you downloaded.
5. Upload the firmware and the router should restart.
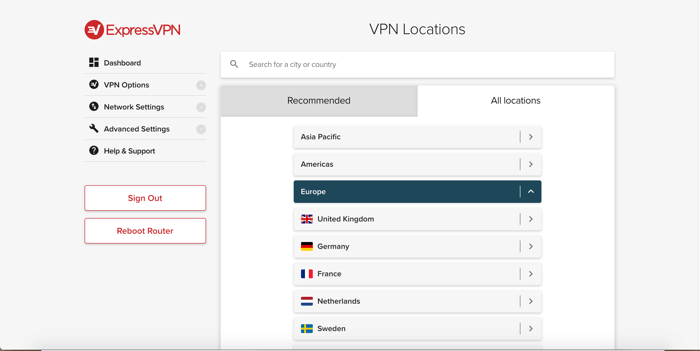
6. Find your router name on WiFi network and connect. This takes you to the VPN part of the dashboard, so click “Get started”.
7. Next, type in your ISP username and password and click “Connect”. Then type in the “Activation code” from ExpressVPN (for example) and sign in.
8. You can now configure the WiFi network so type in your WiFi name and password then click on “Continue”.
9. Choose a password for the router dashboard and click “Done”.
10. You can now go ahead and connect devices to the WiFi through the router.
11. Indecently, if you want to change the server log back on to the dashboard.
Setup your VPN on your SmartTV
Setting up a Virtual Private Network on a SmartTV also requires more work than with other devices, unless your TV supports Android. In this case, you can go to the App Store, download, and install there. If not you can follow this comprehensive guide.
If you install a Virtual Private Network on your router, you can connect the TV to the WiFi via the router and use it this way.
An alternative way is to share a VPN connection using your Windows PC.
To do this, follow the steps below.
1. Choose a VPN provider and a plan to sign up to.
2. Make sure you connect the PC and TV using an Ethernet cable.
3. Head into the “Network and Sharing Centre” on the PC. You can find it in “Start – Control panel – Network and Sharing Centre.
4. Next, find your connection. If you are using OpenVPN, it will generally show up as “Tap-Win32 Adaptor V9″ or a similar name. Right-click on it and choose “Properties – Sharing”.
5. Under the sharing tab tick the box “Allow other network users to connect to the computer internet”. Choose “Local Area Connection”. Click “Ok”.
6. Finally, restart both devices and you should be all set to go.
Amazon Fire TV Stick
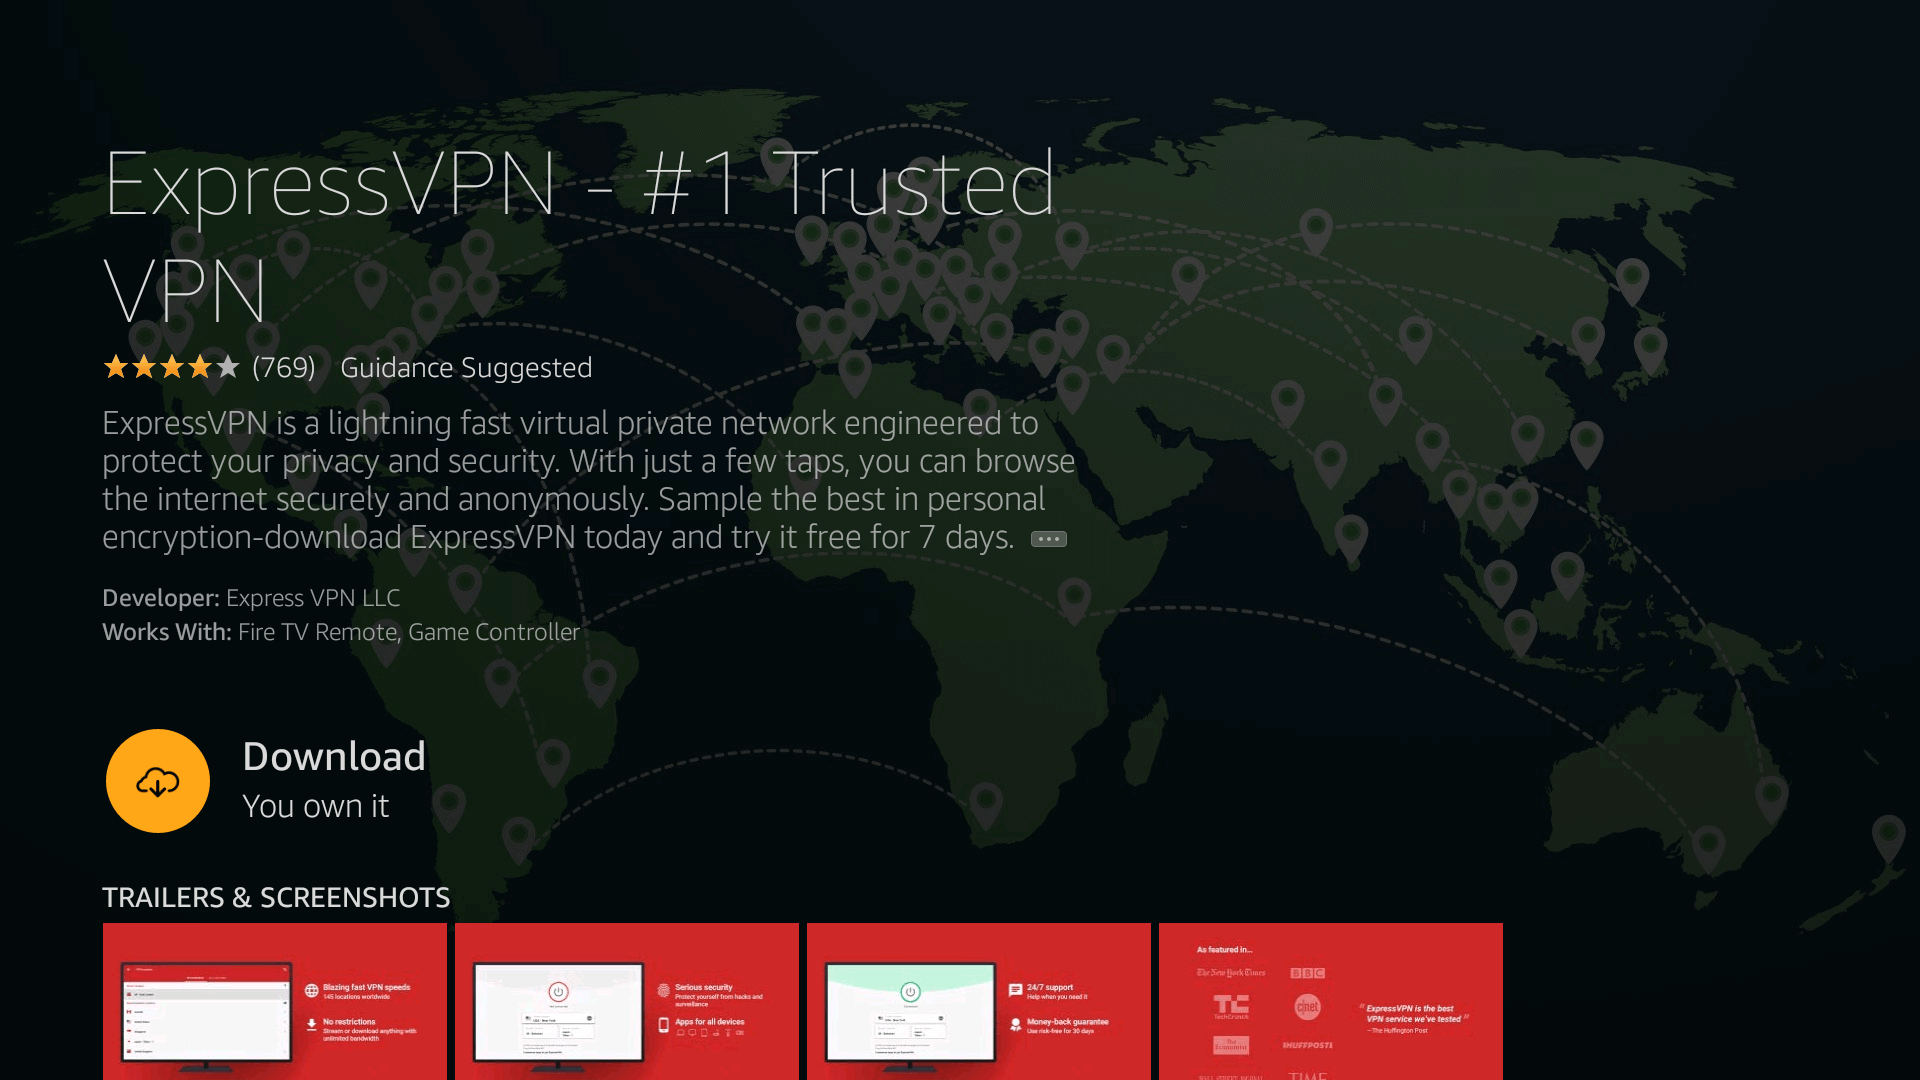
It is very easy to setup your VPN on Amazon Fire TV Stick, all you need to do is follow the steps below.
1. Go to the homepage on your Fire TV Stick and click on the search icon.
2. Type in the name of the provider you chose and click on that name.
3. There will be a button located on the screen to download the app to the Fire TV Stick, so click on it.
4. When it has downloaded and installed click on the “Launch” button to open the app.
5. Finally, type in the email name and password you used when registering, choose a server from the list and connect. Alternatively, use the “Quick Connect” button.
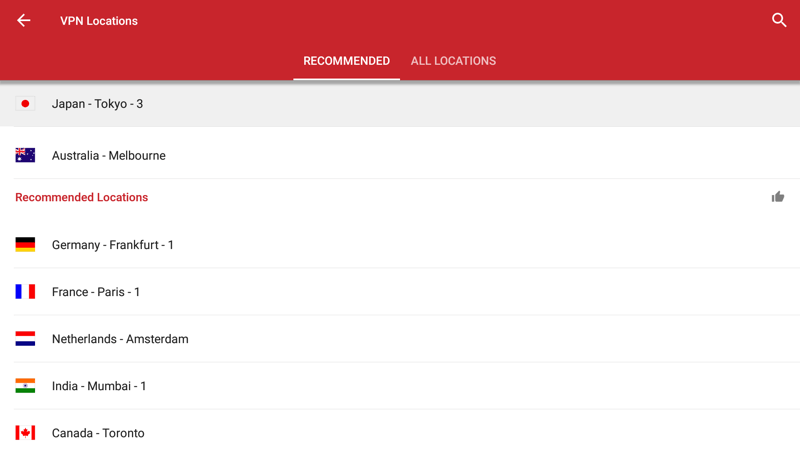
Get ExpressVPN for Fire TV Stick >
Congratulations, your Amazon Fire TV Stick is now protected with the Virtual Private Network.
In summary
Monkey hopes that you have gone “bananas” over our guide to setting up your VPN on your device. We hope you enjoyed it too and it got you up and running.
Of course, if you suffer any issues and you have gone with one of the top providers, they do offer plenty of help and support. But you can also ask us questions, we will try our best to help you 😉

