Kodi is one of the oldest open-source media players that allow you to stream your favorite content online. As many of you know, Netflix is a service that holds a majority of this content. If you’re already using Kodi, you might want to give it a little upgrade. Well, that’s not a problem. We’ll see how to install Netflix directly on Kodi and enjoy thousands of TV shows and movies.
How to Install and Watch Netflix on Kodi?
Whether you’re a newbie or not, you’ll be able to complete these steps in a few minutes. This installation isn’t that complicated once you go through it at least one time. See the steps below:
1. Install a Respectable VPN
As soon as we start talking about Netflix, a Virtual Private Network somehow always appears. These two go hand-to-hand, especially if you want to enjoy the American catalog while being in Europe (or vice versa). This applies to any other continent.
We’ll talk more about why you should use it on this platform, however. For now, we’ll recommend ExpressVPN since it is the best usable provider on Kodi. It offers a 49% discount and 3 months free for a 12-month plan. Click the button below to visit the provider and get a subscription.
2. Download Kodi 18 Leia
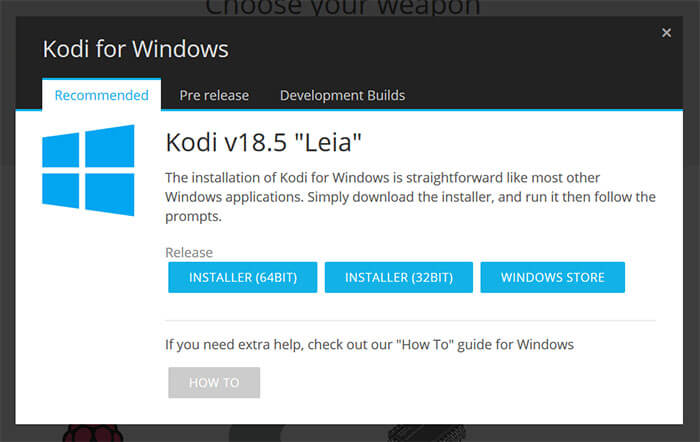
Downloading Kodi 18 Leia is as easy as breathing the air. The first thing to do is to visit its website. To not waste your time, here is a direct link. Scroll down until you see the screen below:
There, choose the platform you want. We used the Windows platform, so our instructions will be for that operating system.
3. Download Netflix Plugin Files
The next thing you need are the plugin files that you can download here. Save them on your desktop, so you can find them easier when you need to implement them.
4. Install the Plugin Files in Kodi
And now, the main part. Before starting the installation, make a few tweaks in your Kodi app. Take a look at the top left corner, where the Settings are located. Click here, select Expert Mode, and then Add-ons. Check if ‘Unknown sources‘ are turned on. If not, turn them on, as it will allow you to install third-party apps and add-ons.
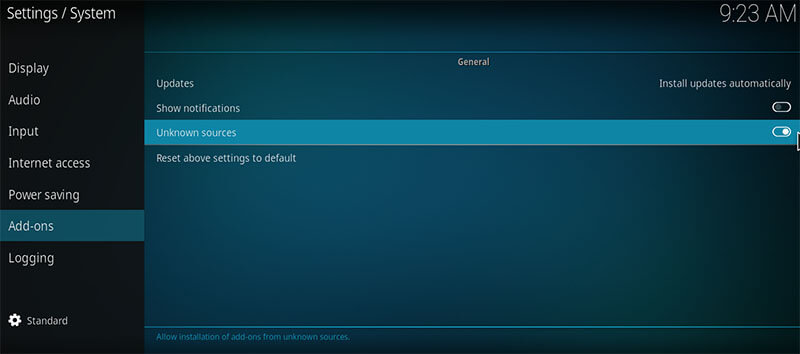
Return to your home screen, select Add-ons, and then My Add-ons. There, click on Video Player Input Stream. Scroll down a bit until you find InputStream Adaptive and RTMP Input. Enable them.
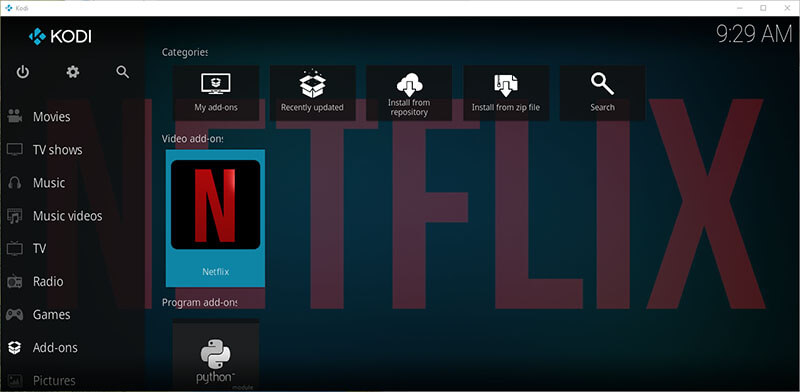
Once again, return to the home screen and select Add-ons once more. In the top left corner, there’s a box icon that represents the Package Installer. Click here and then choose Install from Zip File. Now, find the Netflix plugin file.
This file should be called plugin.video.netflix-master.zip if you haven’t renamed it. After that, click OK and Netflix should be installed. To verify, visit your Add-ons screen again and then click on Video Add-ons. You should see it there.
5. Log into Your Netflix Account and Start Streaming
With this plugin configured, you can now access it as you normally would. But, before that, make sure that your VPN is turned ON and that you’ve chosen the location you want. Then, type in your credentials and log in to your Netflix account.
Sit back, relax, drink some tea, and enjoy your streaming. Kodi also supports add-ons such as YouTube and BBC iPlayer, so if you want to expand your library, you can install them the same way.
Why You Should Use a VPN with Kodi?
If you don’t want to use a Virtual Private Network, you can skip the first step. However, doing so isn’t going to make your experience any better. To be honest, it can only be worse. Without it, you’ll be able to access Netflix only from your region. For example, if you’re from Belgium, you can access only the Belgian catalog.
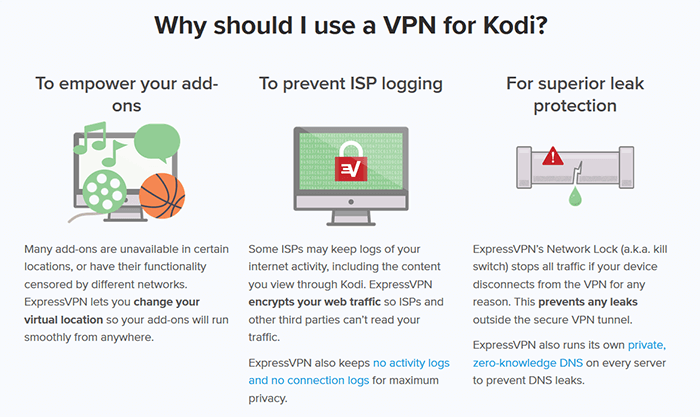
This catalog isn’t among the largest, however. The largest catalogs are in the USA, the UK, Canada, Australia, India, Greece, and so forth. So, without this tool, you’ll encounter geo-restrictions that will hinder your experience. Furthermore, your connection won’t be as secure.
There are hackers, malware, viruses, and government surveillance in play. Oh, and not to forget ISP throttling that’s as annoying as a fly in the summer. Your ISP will slow down your internet if it sees that you’re watching Netflix. And believe us – it happens more often than you think!
All in all, using Kodi without a Virtual Private Network is quite pointless, especially if Netflix is your main concern.
Best VPNs for Kodi
Not only do you know why to use them but also what providers are the best. Actually, you don’t know that but you’ll find out in just a second. Here are our 3 best picks:
1. ExpressVPN
ExpressVPN is the best all-round provider. It’s well-known as being the fastest one, which we proved in our review of this provider. But, speed isn’t the only thing you need for this purpose. You also need the ability to bypass geo-restrictions, which ExpressVPN does flawlessly.
Other than that, you get military-grade encryption, a zero-log policy, and DNS and IP leak protection. If you want to get it, smash the button below and do it – you won’t regret your choice!
2. NordVPN
But, you won’t regret this one, either. NordVPN is a Panama-based provider that has a lot to offer. Oh, God, where we begin? Let’s start with its ability to bypass geo-blocks. The provider is great for Netflix, as well as for BBC iPlayer, Hulu, HBO, Sky TV, and many streaming platforms.
In terms of speed, it’s very fast, so you’ll be able to watch 4K content if you have faster internet. We like its rock-solid security and a Double VPN feature for routing your traffic through two different servers. You can check other features by clicking the button below.
3. CyberGhost
Last but not least, CyberGhost. This Romanian giant has 6,000+ servers worldwide, making it the largest company in the cybersecurity industry. The company offers dedicated servers, of which many of them are specially made for Netflix.
By using them, you get the best possible experience on Kodi. CyberGhost is probably one of the cheapest providers of this caliber, yet offers simple and user-friendly apps for all platforms. All in all, a great choice for this purpose.

